Tips for starting your seeds successfully 🌱
Summer is upon us, and we can finally start planning our garden! If you're choosing to start from seeds instead of buying plants from the nursery, you'll need to get started in the next few weeks. Growing from seed successfully takes a lot of patience, so here are some tips to give yourself the best possible chance!
The calendar
First, here is a link to a sowing calendar . It is important to start them early enough to give your plants time to grow strong enough before planting them in the ground.
Before planting
I like to germinate my seeds so I can discard the ones that are no longer good. I simply place them in a container, between two wet paper towels, and gently place the lid on top. Then I leave everything in a warm place for a few days. Normally, the seeds have time to germinate, then it's time to plant them in seed-producing soil. If you use compostable cardboard containers (like the bottom of an egg carton), you can plant everything directly in the ground afterward.
Once planted
Keep the soil moist but not too wet. Place a film or container over it to create a mini-greenhouse, then place it in the sun or a warm spot. Make sure to uncover the soil for at least an hour a day to allow it to air out.
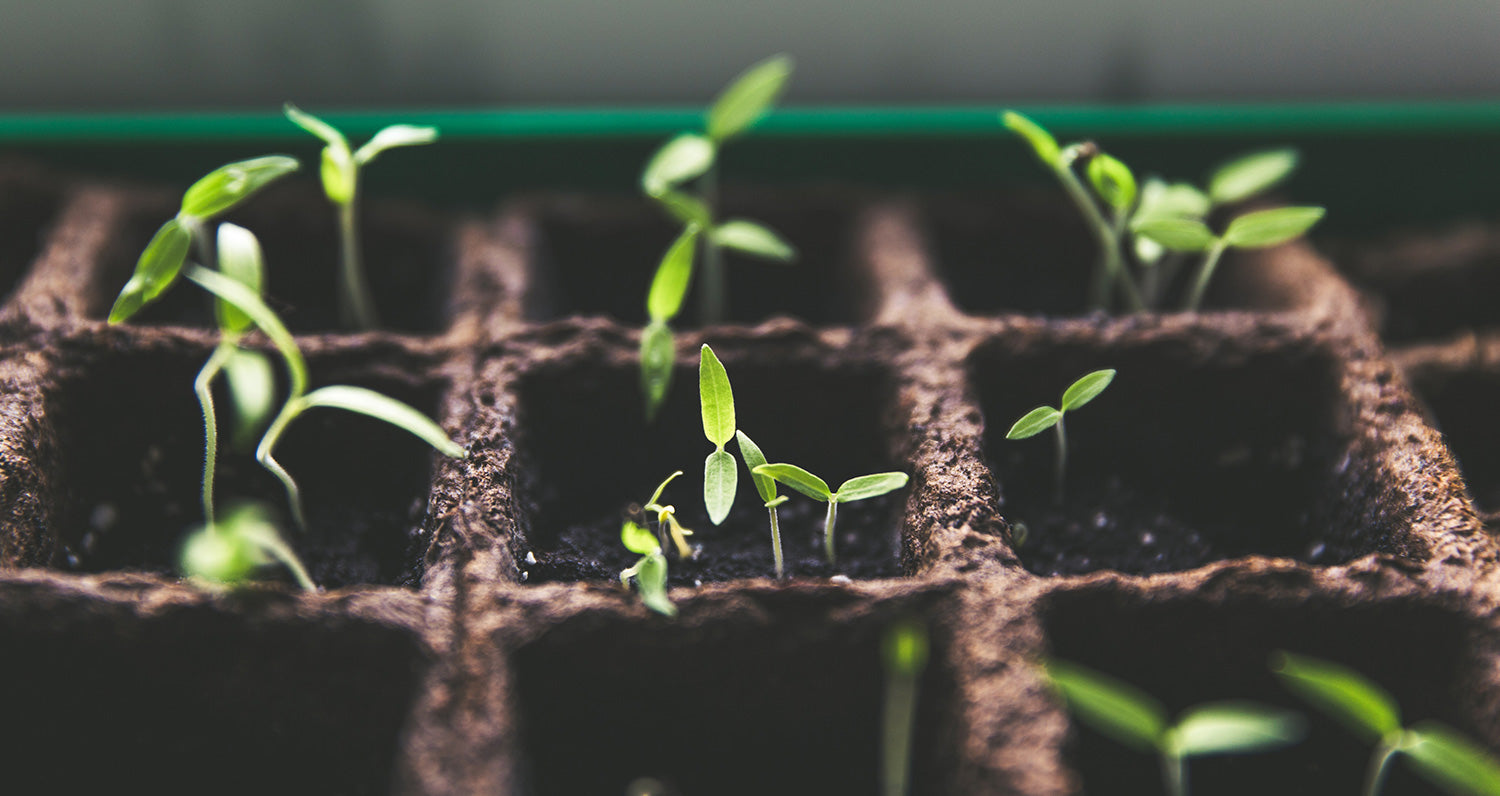
After a few days/weeks, the seedlings will emerge from the soil, yeah! You can now slow down a bit on the water, and let the soil dry out between waterings to prevent mold. You may eventually need to transplant some of the faster-growing seedlings. Wait for the second leaves* to appear, then bury them up to the first leaves in their new pot.
Note: If you notice your plants growing crooked, it may be because they're bending toward the light to get as much sunlight as possible. Give them a little rotation every now and then to straighten them out!
*The first two leaves that appear are often different from the two leaves that arrive later; you will be able to easily distinguish them.
After a few weeks
Now that they're all grown up and beautiful, you need to harden off your plants before planting them in the ground. Otherwise, the shock of the change in temperature and environment can potentially kill them. Also, make sure you wait until there's no more frost at night before planting them (if it's forecast and they're already in the ground, cover them for the night to give them a better chance of survival). Personally, I always wait until after Victoria Day to plant them outside. However, a good two weeks before, you need to put them outside gradually, starting with an hour and then adding an additional hour each time, so they can harden off. If you pay attention, you'll see little hairs appearing on the main stem of your plants: that means they're ready!
Final word
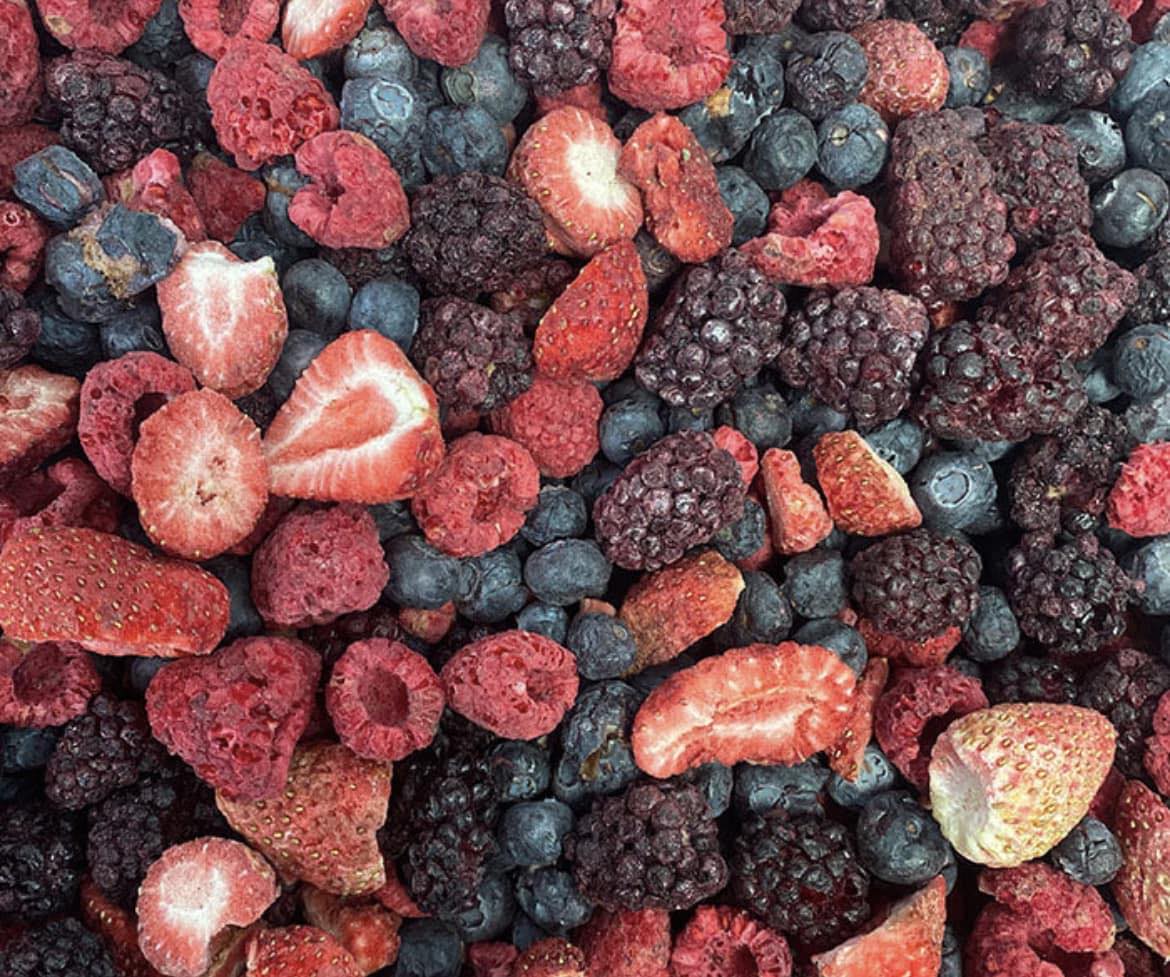
Finally, once your plants are in your garden, you can follow this harvest calendar to know when you can enjoy your hard work. 🍅

Leave a comment
This site is protected by hCaptcha and the hCaptcha Privacy Policy and Terms of Service apply.